Corpus delicti: the silver-gray decorative element of a radiator grille is prepared for analysis.
In December 2017 the certified test laboratory (ATL) moved from Zuffenhausen to the village of Korntal-Münchingen around five kilometers away.
It had begun to feel too confined at the main production plant. The new home is attractive, with its bright, spacious offices and laboratory rooms. However, this is just a temporary address. From the window of her office, Roth looks out upon the new Wörwag plant being built across the street. It’s to be ready at the end of summer 2019, when the test laboratory will make its permanent home there.
The department is certified by the German Accreditation Body (DAkkS) according to standard DIN EN ISO/IEC 17025 for testing and calibrating laboratories. DAkkS has accredited the Wörwag lab for testing and evaluating the expertise, material and procedure based on customer specifications. And this is precisely what the current case is about.
Zelfl has sawed the sample from the component and has made two cuts into it with a special tool that resembles a box cutter. The intersecting cuts are one millimeter deep. Now the actual investigation begins. The sample is documented with an ID number that is stored in the computer.
The eleven members of Roth’s team subject the surfaces and layers of technical products to a wide range of mechanical, chemical and visual inspections in Münchingen – from the pressurized water test to the measurement of the resistance to salt spray, chemicals or hydrolysis, to microscopy.
Along with complaints, the investigative team also looks at new paintwork before it is released to customers. A second team of seven processes internal orders from the development department.
The investigators have a suspicion. The analysis will show whether it’s correct. Precision work is needed.

Zelfl uses a special tool to cut the material sample prior to the pressurized water test.
Mühlich drops by: “Are we ready for the HPW?” “Yes.” Zelfl gives her the prepared sample. The HPW is the high-pressure water test.
“The abbreviation is actually incorrect because we don’t use high pressure, only around 67 bar. But the name stuck,” the coating lab technician explains. She did her training at Wörwag and has been with the company for 18 years.
Two doors away she enters room 1.02. The pressurized water test is performed here. There are three cabins to choose from. Mühlich opens the door of the first one and clamps the sample between two brackets. From the prescribed distance she aims the water jet at the middle of the test object. Close door, water on. The 60-degree jet of warm water hits one of the two cuts. “Let’s see how the individual layers react.” Mühlich has a suspicion but is keeping it to herself for now. Time for a review.
She runs into Roth and Zelfl in the corridor. The three of them put their heads together and assess the test result. The two others nod, seeming to agree with Mühlich’s suspicion. “The microscopy will tell us for sure.
Pascal, your job!” Roth delegates, giving Zelfl the sample. He sits himself down at the microscope, while the chief investigator enjoys a cigarette break.
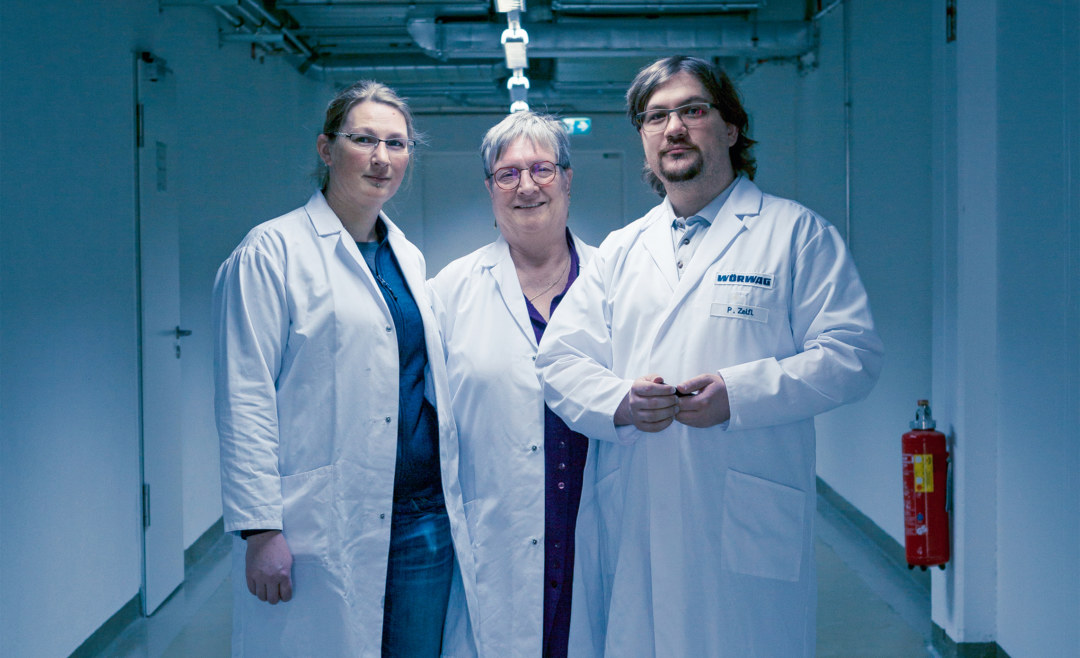
Roth was one of the founders of the test laboratory. The 64-year-old has been here for thirty years. Officially, the chemical and coating lab technician could have retired in 2017 after 45 years’ service. “But my work is so much fun and my colleagues are so nice that I’m doing another two years.”
All test results end up on her desk. With her experience and her investigative instinct, even the smallest detail doesn’t escape her.

Precision work: for the microscopy, sample slivers 30 micrometers thick are affixed to a slide.
Room 1.05, microscopy. The window blinds are down. Zelfl focuses the microscope. The slide holds a punched-out piece of the sample.
The view through the microscope appears on the screen of the connected computer. “Yes, you can see it here.” Zelfl, also a trained coatings lab technician, points to the monitor. “This should confirm our suspicion. We can see it most clearly in the cross-section.”
Using the microtome, a precision instrument for making the finest cuts, he planes a razor-thin sliver from the sample. He affixes this to a slide using crystal tape and puts it under the lens.
The examination of the surface confirms the suspicion.

Magnification: Roth’s team looks at the paintwork as seen through the microscope.
“There it is.” Zelfl explains the layers that can be differentiated on the screen by their color tones and structures.
He also determines their thickness. The bottom layer is the substrate, the coated material, in this case the plastic PP/EPDM. On top of this the coating sequence of primer (15 micrometers), base coat (22 micrometers) and clear coat (35 micrometers).
“We can clearly see a delamination between the substrate and the primer,” he states. In other words, the primer is peeling away from the workpiece.
Why? Zelfl takes a closer look at the surface of the substrate. “Classic pretreatment error. For the primer to adhere optimally to PP/EPDM, it is treated with a gas flame before being coated. And multiple parameters must be complied with. If the flaming is done at the wrong temperature, too quickly, or with an incorrect mixture, the adhesion does not work.”

Result: In the cross-section of the sample, the layer thicknesses and the cause of the error can be determined on the screen.
Conclusion: the supplier must check its processes.
Zelfl documents his findings and saves the microscope images under the ID number of the sample. Before the test report, including photographic evidence, is sent to the customer as a PDF file, Roth has to approve it. In her office she has Zelfl tell her how he conducted the analysis and the conclusions he has drawn. “Just as we suspected,” she smiles. “Good work!” Case closed.
“Good work!” Case closed. Thank you CSI: Münchingen!
By: Thorsten Schönfeld
Photos by: Florian Imberger
